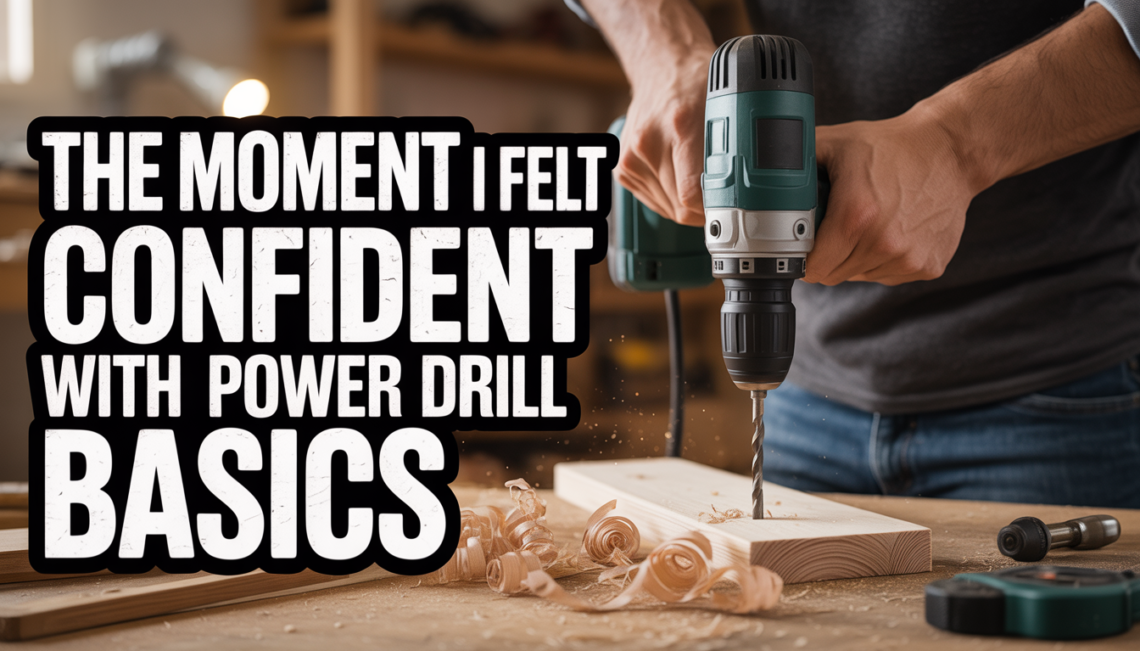
For a long time, the only “power tool” I felt safe with was my electric toothbrush. When I finally held a real drill, I treated it like a live grenade that might go off if I sneezed. I spent ten minutes just figuring out which way was “on,” and let’s just say my first attempt at a hole looked more like a bite mark from a very confused beaver.
The “Forward vs. Reverse” Drama:
When you first pick up a cordless drill, it feels like you’re holding a piece of high-tech weaponry. But really, it’s just a screwdriver with a motor. The first thing you need to master, and I say this because I failed at it for a full hour, is the direction switch.
Most drills have a little button near your thumb and pointer finger. If you push it one way, the drill goes clockwise (to put a screw in). Push it the other way, and it goes counter-clockwise (to take a screw out).
I remember trying to hang a picture frame and getting so frustrated because the screw wouldn’t go into the wall. I was pushing so hard, I was sweating, only to realize I had the drill in reverse. I was basically just polishing the head of the screw. Check your direction before you start. It’s the most basic part of power drill basics, but it’s the one we all mess up.
Understanding the “Clicky” Numbers (The Clutch):
Have you noticed the ring with numbers on it right behind the place where the bit goes? That is called the clutch, and for the longest time, I thought those numbers were just there to make the drill look professional.
Think of the clutch like the “strength” of the drill. If you set it to a low number (like 1 or 2), the drill will stop turning and start making a clicking sound the moment it feels a little bit of resistance. This is perfect for home maintenance tasks like putting together furniture where the wood is thin. If you use too much power, you’ll “strip” the screw, which is just a fancy way of saying you’ve chewed up the metal so much that no screwdriver will ever fit in it again.
When you’re doing bigger DIY projects, like building a deck or fixing a fence, you’ll want to turn that number up. It tells the drill, “Don’t stop until that screw is buried deep.” Mastering the clutch is the moment you stop being a “beginner” and start being someone who actually knows how to handle a tool.
The Drill Bit Buffet:
You wouldn’t use a soup spoon to cut a steak, right? Well, using the wrong drill bits is basically the same thing. When I first started, I thought a bit was a bit. I tried to use a tiny, thin bit meant for wood to make a hole in a brick wall. The bit turned red, started smoking, and then snapped in half.
Here is the simple breakdown you need to know:
- Twist Bits: These are your everyday heroes. They look like a spiral staircase and work for wood, plastic, and some light metals.
- Brad Point Bits: These have a tiny, sharp spike on the end. This is great for improving DIY skills because that spike keeps the drill from “walking” or sliding across the wood when you start.
- Masonry Bits: If you’re drilling into brick, stone, or concrete, you need these. They usually have a wider, flatter tip that looks like it has a little “hat” on.
- Driver Bits: These aren’t for making holes; they are the screwdriver heads (Phillips, flathead, etc.) that you use to actually put the screws in.
The Secret of the Pilot Hole:
If you want to look like a pro even if you have no idea what you’re doing, start using pilot holes. This was the “lightbulb” moment for me.
If you try to drive a thick screw into a piece of wood, the wood has to go somewhere. Usually, it just splits right down the middle, ruining your project. A pilot hole is just a tiny hole you drill before you put the screw in. It gives the screw a path to follow and removes a little bit of the wood so it doesn’t crack.
How do you pick the right size? Hold the screw up behind the drill bit. You want the bit to be the same size as the “body” of the screw, but you still want to be able to see the “threads” (the twisty parts) sticking out. This ensures the screw has something to grab onto while it goes in.
Don’t Let the Drill Win:
I know, talking about drill safety feels like your parents telling you to wear a coat, but it matters. A drill has a lot of “torque,” which is just a big word for twisting power.
- The “Wrist Snap”: If a drill bit gets stuck in a piece of wood and you’re holding the drill loosely, the drill will stop turning, and your arm will start turning instead. This is a great way to sprain your wrist. Hold the drill with two hands if you’re working on something tough.
- Eye Protection: You only get two eyes. Wood chips fly out of holes at high speeds. Wear the dorky glasses.
- Clear the Holes: When you’re drilling a deep hole, pull the bit out every few seconds to let the sawdust fall out. If the hole gets clogged, the bit gets hot, and that’s how bits break.
- Tuck it in: If you have long hair or a hoodie with those long strings, tie them back. You do not want your hair getting caught in the spinning part of the drill.
Improving Your Skills with Practice:
The best way to get confident is to buy a cheap piece of 2×4 wood and a box of screws. Spend twenty minutes just drilling holes and putting screws in.
Try to see how deep you can put a screw without splitting the wood. Try to see what happens when you change the clutch settings. The more “vroom-vroom” noises you make in a low-stakes environment, the less nervous you’ll be when you’re actually trying to fix something in your house.
When I finally hung my first shelf, and it didn’t immediately fall off the wall and hit the dog, I felt like a king. That confidence comes from knowing the tool, not just guessing and hoping for the best.
Conclusion:
You don’t need to be a master carpenter to be useful around the house. Just take it slow, keep your fingers away from the pointy bits, and remember: if at first you don’t succeed, check if you’re in reverse. You’ve got this.
FAQs:
1. Do I really need a cordless drill, or is a corded one okay?
Corded drills are powerful, but a cordless drill is much easier for most DIY projects. You don’t have to worry about tripping over a wire or finding an outlet.
2. Why does my drill bit keep slipping out of the drill?
You probably haven’t tightened the “chuck” (the front part that holds the bit) enough. Give it a good twist until you hear a few clicks to lock that bit in place.
3. What does the “hammer” setting on my drill do?
That is for drilling into really hard stuff like concrete or brick. It adds a “pulsing” motion that helps the bit chew through the stone. Don’t use it on wood!
4. How do I know when the battery is dying?
The drill will start to sound “tired” and slow down. Don’t try to force it; just swap in a fresh battery. Forcing a dying drill can actually damage the motor.
5. Can I use my drill to stir paint?
Yes! You can buy a special attachment for that. It’s a great way to use your tool for more than just home maintenance and save your arm from a lot of shaking.
6. What is the best way to store my drill?
Keep it in a cool, dry place. If you aren’t going to use it for a few months, it’s a good idea to take the battery out so it doesn’t slowly drain.